Days 1 + 2
An introduction to this zine-a-day project, and what I made on the first two days.
It’s November, which for many people means National Novel Writing Month. I’m not working on a novel right now, but I decided that this month I wanted a creative undertaking of my own. Because the thing I am most enthusiastic about right now is zines, and because I want to expand my zine “catalog” to table in 2025, I decided I would make a zine-a-day for these 30 days. I’m also going to be periodically report out on how it’s going.
I love parameters1, so here are the structures and directives I’ve given myself:
The goal is to make a zine every day.
Any variety of zine counts, but I want to try out a variety of sizes and folding methods and see what I can come up with.
Not every zine needs to be perfectly polished.
For more ambitious undertakings, making a prototype one day and the finished product the next counts for two days.
When it comes to reporting out, the invitation is to share as much of the process as possible (including missteps). How did I get from A to Zine?2
I’m creating templates for myself along the way, and my hope is that at the end of the month I’ll have a big library of templates that I can freely share with folks, but I’m not going to worry too much about that at this point.
While I’ll share all my creations, I may not post about them every single day. I’m sharing on my Instagram as well, and I suspect that I’ll update that more frequently while doing digests covering multiple days in this column.
Day 1
This design uses a half sheet of paper, and doesn’t have any cuts.

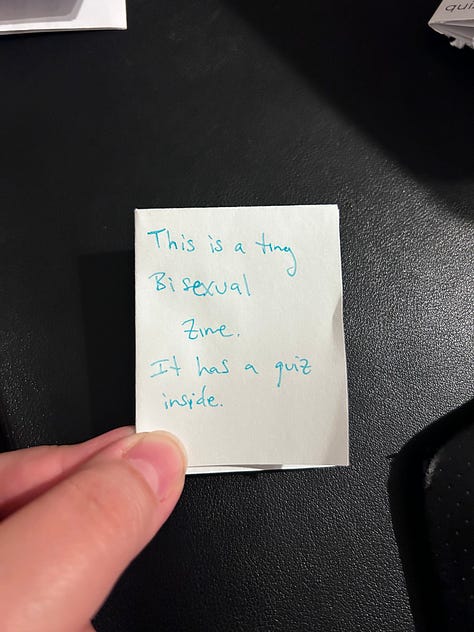
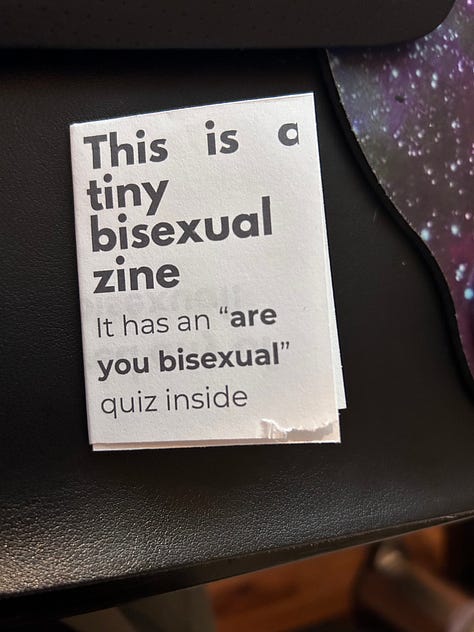
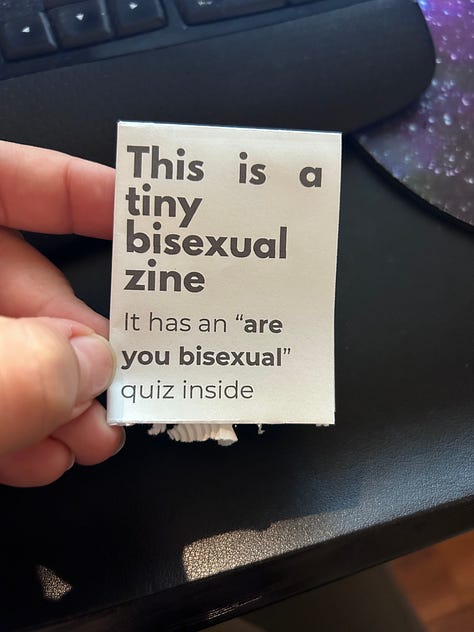


1. The finished product! I liked the silliness of having the cover “describe” the zine (that it’s tiny and bisexual)—I think it also sets the tone for reading the quiz inside.
2. The original prototype, which I made on a scrap of paper in collaboration with
while tabling at the Belmont Shore Book Fair!3. Made myself a template in Canva so it would be easy to do the layout.
4. First test print has margin/bleed issues, I forgot to print double sided, and the paper cutter decided to fight back. I also had a hard time folding it neatly. But all the pages are in the right order and facing the right direction!
5. Nothing is being cut off and printing is double sided, love that! Paper slicer hates me. I didn’t take an interior picture of the first two drafts, but I ended up making a font change at this stage. You might also notice the spacing is a bit different on the front between this and the final product.
6. Back of zine! Christina and I have a queer podcast called The Bi Pod, and hopefully someone who picks up this zine will go on to check out the show!
Here’s a video that shows the unfold process & the interior of the zine.
Next iteration will involve printing on colored paper! I’ll use bi pride colors (blue, purple, pink) to create some visual interest while sticking with all-black printing.
Day 2
You get to see my very messy prototypes! For this one, you don’t get to see the *final* draft because it’s extra special bonus content for the Biggest Little Zine Fair holiday market. I felt a little nervous to show just the messy beginnings and not the final product, but I decided to do it anyway. I’m excited to reveal the final product when the time comes.
I used 1/4 of a vertical sheet of paper, so it’s super economical. We’re going to be giving these out so we have to produce a decent quantity and I wanted to keep the costs low.
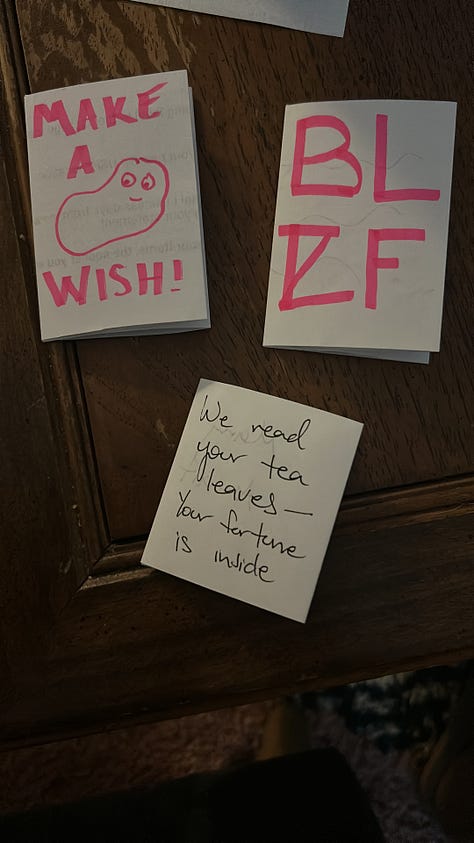

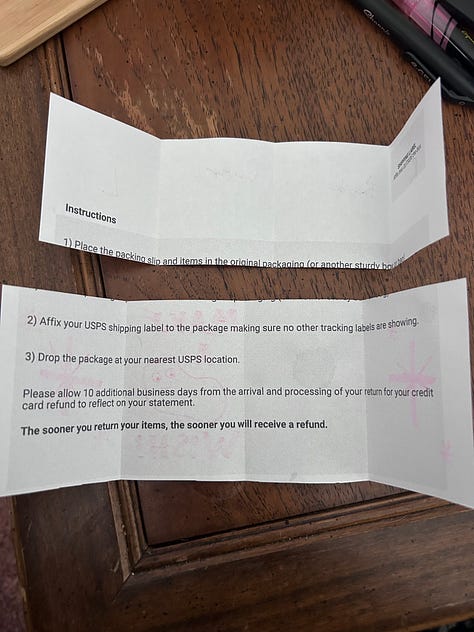
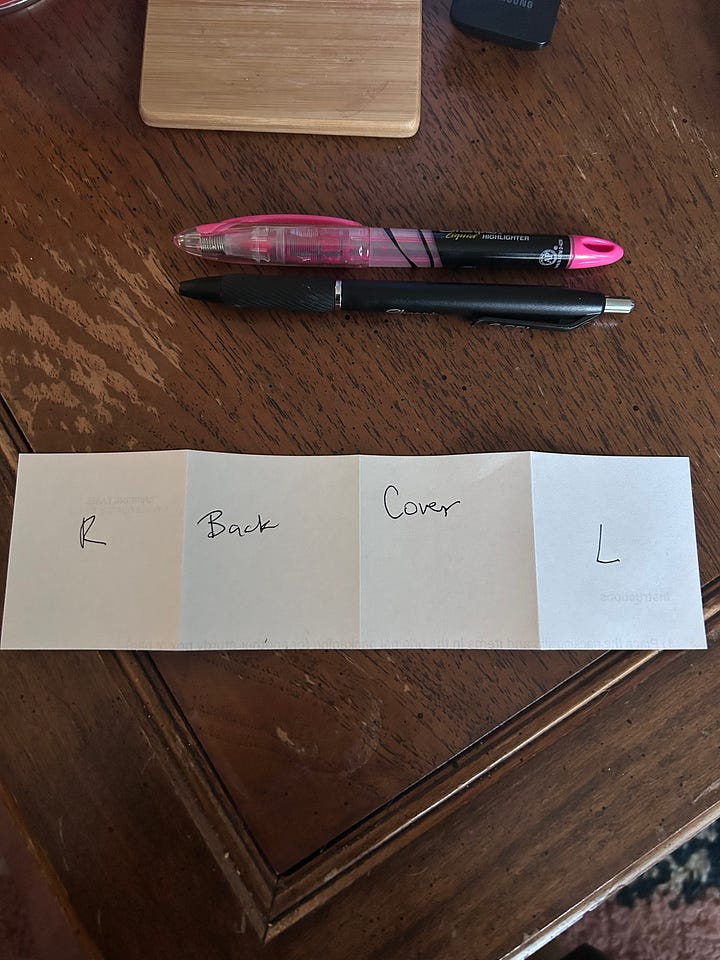
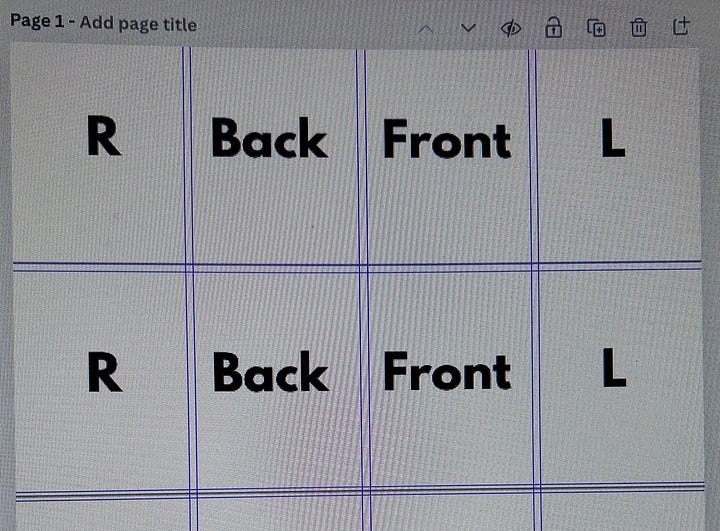
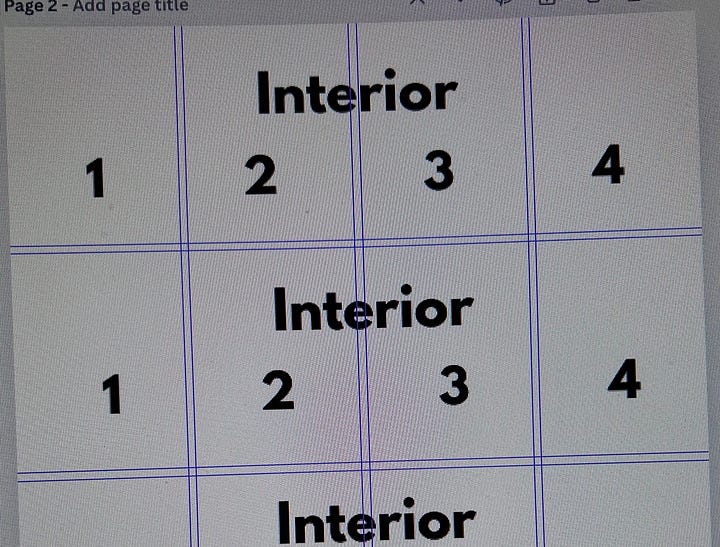

1. Playing with covers! The weird bean-blob with eyes is supposed to be the BLZF mascot, Inky 😆
2. This fold makes cute little barn doors! The content for this lends itself to a reveal, so doors make sense!
3. Interior reveal. Scrap paper for the win!
4. What the exterior & barn doors look like on an unfolded strip.
5 & 6. Setting up my templates in Canva. For the interior we’re just going to have one message in the center, so we won’t be making use of the 4 panels individually but I put the numbers in anyway in the event that I use this template in the future and what to treat each panel like a page.
7. Back cover (a peak at the printed draft). My printer does not like color, so this looks funky but works fine for testing purposes!
This is on 20lb paper, but I think we’ll want 28 or maybe even 32lb for the event for a bit more heft.
A lesson I learned on day 1 but forgot to apply here is that secret interior text should be in grey rather than pure black so it doesn’t show through. I updated the file for future printing!
More soon!
My Virgo nature, I think.
😉


That looks like a ton of fun!
Love this! I also wanted to do something creative but not NaNoWriMo, so I’m also working on a zine!